What Should You Be Using In Your Skin Care Routine?
Take my quiz and get personalized recommendations from a
licensed esthetician!
I'm Spilling My Secrets on How You Can Keep That Coveted Post-Summer Glow
Hi, lovelies! Can you believe another summer has come and gone? It seems like just yesterday I was planning my family vacation!

With fall and winter coming up, I think of cozy sweaters, colder weather, and more time indoors - and with all this comes paler skin.
And hey, that’s not a bad thing! While I believe we should all embrace and appreciate the skin we’re in, there’s nothing wrong with wanting a little healthy color.
There are plenty of options to help you achieve your ideal sun-kissed glow.
Today I’m going to address everything you need to know about self-tanning products - what they are, the different kinds, and how to apply.
Let’s get going!
Self-Tanning vs. “Traditional” Tanning
According to the Skin Cancer Foundation, more people develop skin cancer due to tanning than people who develop lung cancer due to smoking. Unfortunately, the consequences of tanning aren’t taken as seriously as they should be.
When used properly, self-tanning products (AKA self-tanners or a "fake tan") are a safe alternative to laying out in the sun or using a tanning booth and exposing your skin to harmful ultraviolet (UV) rays.
Dihydroxyacetone (DHA) is the FDA-approved active ingredient in most self-tanners at about 3-5%.
It reacts with dead skin cells on the surface to temporarily darken the skin. The coloring typically wears off after a few days because the dead skin cells are constantly being shed.
Fun fact: You can also thank DHA for that distinct self-tanning smell that we all know. Ugh, I can smell it now!
It’s also worth noting that DHA shouldn’t be inhaled or applied to areas around the lips, nose, or eyes - it’s for external use only.
If you have a known sensitivity to DHA, look for a line of self-tanners that are DHA-free.
If you're using DHA for the first time, conduct a 24-hour patch test behind your ear.
Types of Self-Tanners
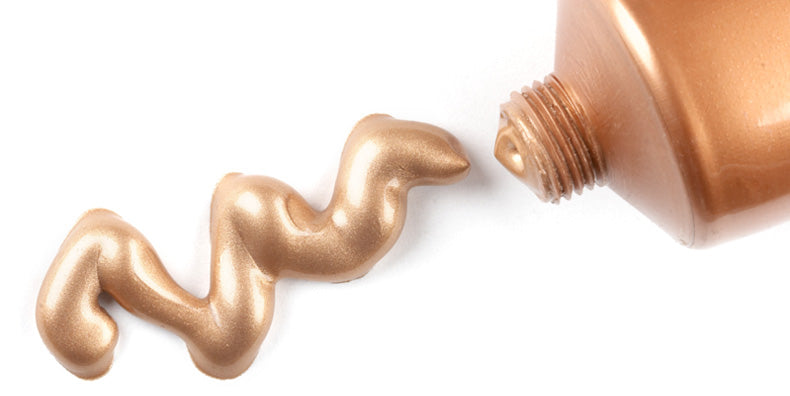
- Lotions: The ideal product for self-tanning beginners, lotions take a little longer to absorb into the skin, which means you have time to correct any mistakes. However, this also means you have to wait for it to dry, and the color could streak or transfer to clothes. Your tan will develop over several hours while providing you with moisturizing benefits.
- Pre-soaked pads/wipes: If you want a tan on the go or while traveling, this product is for you! Self-tanning pads or wipes offer a quick application with little mess. Just make sure you take your time when applying as you want to make sure you’re blending the color evenly. Your tan will develop over several hours.
- Mitts: Look Ma, no hands! Mitts protect your hands from getting too much color when applying self-tanning products. These handy tools (ha!) easily smooth color onto the skin from any angle for an even application. They’re also a great way to prevent streaking.
- Bronzers: You’re probably familiar with this one already! A popular makeup product (contouring, anyone?), bronzers come in powder or cream formulas to provide some extra color for a temporary look. They can be applied to your face, legs, or chest. Bronzers can easily be removed with makeup remover.
- Mousses: These self-tanners are similar to hair mousses - except, you know, they’re for your skin. The application is quick, and they’re lightweight and easy to rub in. Mousses do dry quickly, so self-tanning beginners may want to start with a different product to ensure even coverage. However, the quick dry time limits the chances of the color being transferred to your clothes.
- Gels: Self-tanning gels are quick to apply and dry, and easy to spread. They work well for people with normal or oily skin types as the consistency isn’t too creamy. Again, this product is better-suited to self-tanning aficionados.
- Sprays: Self-tanning sprays are great for hard to reach areas as they continuously spray at any angle. They’re easy to apply with little mess, and many formulas don’t require any rubbing in (no orange hands!). They also dry quickly.
A product I would not recommend using is tanning oil. These offer little to no UV protection and promote the idea that it’s okay to lay out in the sun and tan. What most people don’t realize is that their “golden color” is sun damage! I’ve even heard of people using baby oil...OMG!
A Good Rule of Thumb: Wait 5-8 hours after applying a sunless tanner to exercise, take a dip in the pool, or shower. Sweat can cause streaking, and submersing yourself in water can eliminate the color.
Picking the Right Color
Now, we’ve all seen those celebrities with a tan gone wrong, whether it’s streaking, orangey, or obviously unnatural.
My advice? Choose a self-tanner for your skin tone the way it is right now. Don't immediately reach for the color that's your desired goal.
Fair skin tones should stick with light to medium formulas and stay away from anything that looks orange. I recommend a gradual formula, which can take 2-4 applications to reach the right shade.
Darker formulas that complement the already-there glow are good for olive skin tones.
If you have a deep skin tone, a deep brown with a touch of bronzer is suitable.
Should I Use Self-Tanning Pills?
My short and sweet answer is NO.
Canthaxanthin is a color additive commonly used in such pills, and it is not safe. It can turn your skin orange or brown and cause hives, liver damage, and vision loss. No tan is worth that!
We may never know what other potentially dangerous ingredients are included in self-tanning pills.
Self-Tanning and UV Protection
Most self-tanners do not contain sunscreen or UV protection.
If a product does happen to contain sunscreen, remember it will only be effective for a couple of hours!
Either way, you’re gonna need to apply if you’re going outside!
If you want a self-tanner with sunscreen, be sure to choose one with an SPF of at least 15 and then apply a separate broad spectrum SPF 30+ sunscreen after a couple of hours.
How to Prep
- Do a 24-hour patch test: 24 hours might seem like a while to wait for a fake tan, but you don’t want to risk an allergic reaction! Perfumes, alcohol, or DHA - as I mentioned earlier - can potentially irritate skin. I recommend the back of your wrist or your stomach as that’s typically one of the more pale areas of the body. You can get a good idea of how the color will look - if it’s golden on a friend, it could look orange on you!
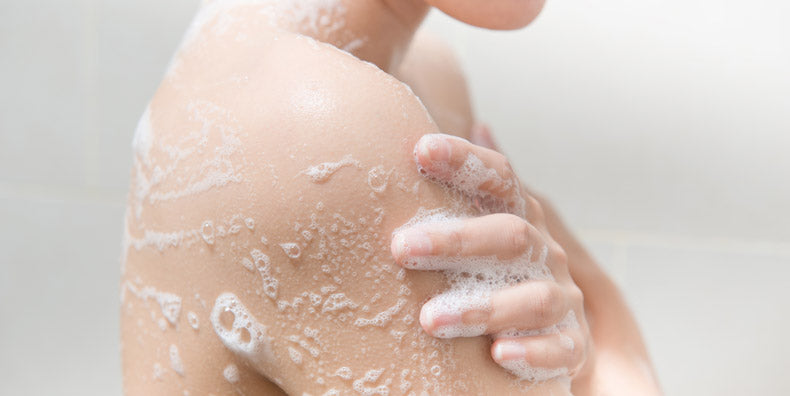
- Exfoliate: Exfoliating prior to applying a self-tanner prevents any flaking or patches and prolongs the tan. I recommend using a body scrub in the shower to help remove excess dead skin cells. Spend extra time on your elbows, knees, and ankles, as these areas typically have more buildup. Don’t scrub too hard!
-
Moisturize, moisturize, moisturize: Again, focus on your elbows, knees, and ankles as the self-tanner can appear darker in those areas. Dry skin is often the culprit. Wait for your lotion/moisturizer to be fully absorbed before moving onto the next step.
-
Wax or shave: Both can remove your color. Make sure you use a fresh razor and give your skin a chance to calm down before applying self-tanner!
Application Tips
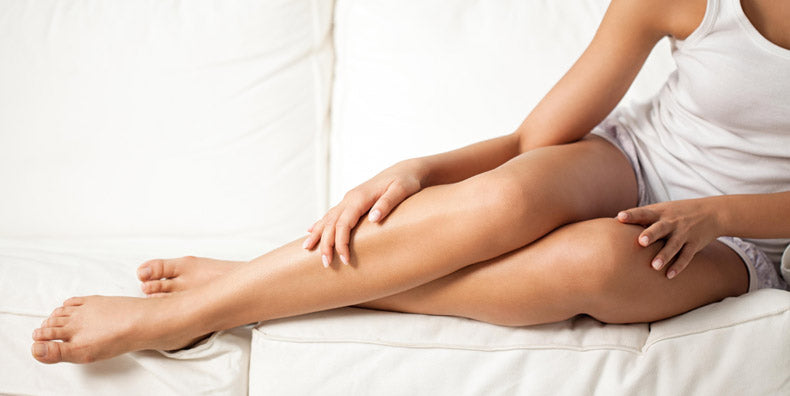
- Start at the bottom - your ankles/legs - and work your way up to your chest. Applying in sections = thorough coverage.
- Don't forget about your ears, behind your ears, and the back of your neck.
- Your back can be tricky. Here are instructions for a DIY tool that makes it easy to reach! (Or, you can have someone else help you!) I recommend using a mousse and a mitt to avoid dripping to first cover the easy to reach areas. Then use the DIY tool to get the rest.
- If you’re not using a mitt to apply a mousse, gel, or lotion, use disposable gloves! This will prevent orange hands which can happen if too much product is absorbed. After removing the gloves, you can go back and apply an appropriate amount to your hands.
- I recommend using a sponge brush (like the kind you use for arts and crafts) for even coverage on your hands, ankles, feet, knees, and elbows. This will ensure a more natural look.
- For the best coverage, rub the product into your skin in a circular motion.
- If you notice excess color or unevenness, dab areas with a slightly damp paper towel to blend.
- Let it dry! I get it - you’re busy! But you should wait at least 20 minutes before getting dressed. Wear loose clothing and avoid sweating/water.
- DON'T immediately apply a second layer. Wait until your tan fully develops to decide if you want more color.
- Side note: Self-tanning at night is actually a great idea, so you can let the color develop while you sleep. Lay down some towels so the product doesn't get on your sheets.
Maintaining Your Color
Picking the correct product for your skin type and tone, conducting a patch test, and applying and drying takes time out of your schedule, so it makes sense that you'd want your tan to last as long as possible! Below are a few tips to prolong your color:
- Moisturize daily
- Every few days, exfoliate lightly so the color stays even
- Pat your skin dry after showering or swimming - no rubbing!
- Apply self-tanner weekly for consistent color
If your tan is fading after several days and you don’t want to reapply, take a warm shower and use a body scrub to slough the color off.
What About My Face?
When it comes to self-tanning your face, my philosophy is less is more. It’s better to use not enough product and reapply than to use too much!
As with your body, you should exfoliate and moisturize first. But make sure these products are specifically for your face!
Compared to the skin on your body, the skin on your face is thinner - so take time to select the right product for your skin type.
I recommend a gel or lotion to build gradual color, and again, start in a lighter shade than you need.
If you have light eyebrows or hair that could absorb the self-tanner, apply moisturizer around these areas.
Using clean, dry hands, gently apply a dime-size amount on your forehead, cheeks, nose, and chin - places you’d naturally tan - and blend outward.
You can even contour your cheekbones using a small sponge and self-tanner specifically for your face. You can find a helpful guide here.
Remember to avoid your eyelids and wash your hands immediately after!
Keeping That Glow

Certain products, such as retinols, acne treatments, and acids, can fade color.
Use a daily moisturizer to maintain your "just got back from a tropical vacation" look.
Just like your body, exfoliate lightly to ensure even coverage and reapply weekly.
Final Thoughts
If you want a safe way to get a sun-kissed glow, self-tanners are the way to go! Although they take time, maintenance, and practice, they're a safe and effective alternative to cancer-causing UV rays. If you’ve never used a self-tanner before and are curious, I hope you now feel more confident about trying one!
Beauties, what are some of your favorite self-tanning products and ways to apply? Share with us in the comments!
Product Lineup

Image Skincare Body Spa Face and Body Bronzer

Hempz Yuzu & Starfruit Moisturizing Self-Tanning Crème

Suntegrity 5 in 1 Natural Self-Tanner

Top Brands
New Brands


Recent Posts


Are You Taking the Right Steps to Care for Your Skin?
Take the Quiz
Skincare Secrets!
10-step guide for healthy, beautiful skin after kids.
100% privacy. I will never spam you!